My Lovely Followers

Saturday 31 December 2016

My Favourite Cards of 2016

Hello everyone!

Before I continue with my post today I would just like to say a huge thank you to all of my followers and visitors who have joined or stayed with me on my crafting journey this year. I do really appreciate so much all of your visits here or on my Facebook page, all of your likes and comments etc. You are the reason I carry on and that I'm here, without you there would be no point in me sharing my creations, so thank you each and every one of you from the bottom of my heart.

As you know this year had had it's ups and downs, one of the biggest ups being my trip to teach at Whimsy's first ever Annual Craft Retreat in Orlando, followed almost immediately by my biggest ever down of my Dad passing away. So my crafting and blogging has been a little erratic sometimes this year and I apologise for that.  I am hoping that 2017 will be a better year for me. 

I'm trying to organise my home and my time a little better to make things a little easier for me and I've discovered the joy of trying different techniques, so I hope to continue to share that with you in 2017. Also I'd like to restart my 'A Year in Crafting' series, (although I will probably rename it something different), as I started that late this year and then never got to finish it due to everything that happened at the end of the year.

I'd like to do more YouTube videos for you all as well, but as I don't have a craft room or anywhere to set up a permanent filming set up, I don't know how often I will manage those, but I would like to continue my watercolour tutorials, and share some technique tutorials with you, not to mention I have a couple of mini albums made that I still haven't shared. One of them is actually filmed, but finding the time to edit and upload just seemed impossible so I will have to get around to that in the new year.

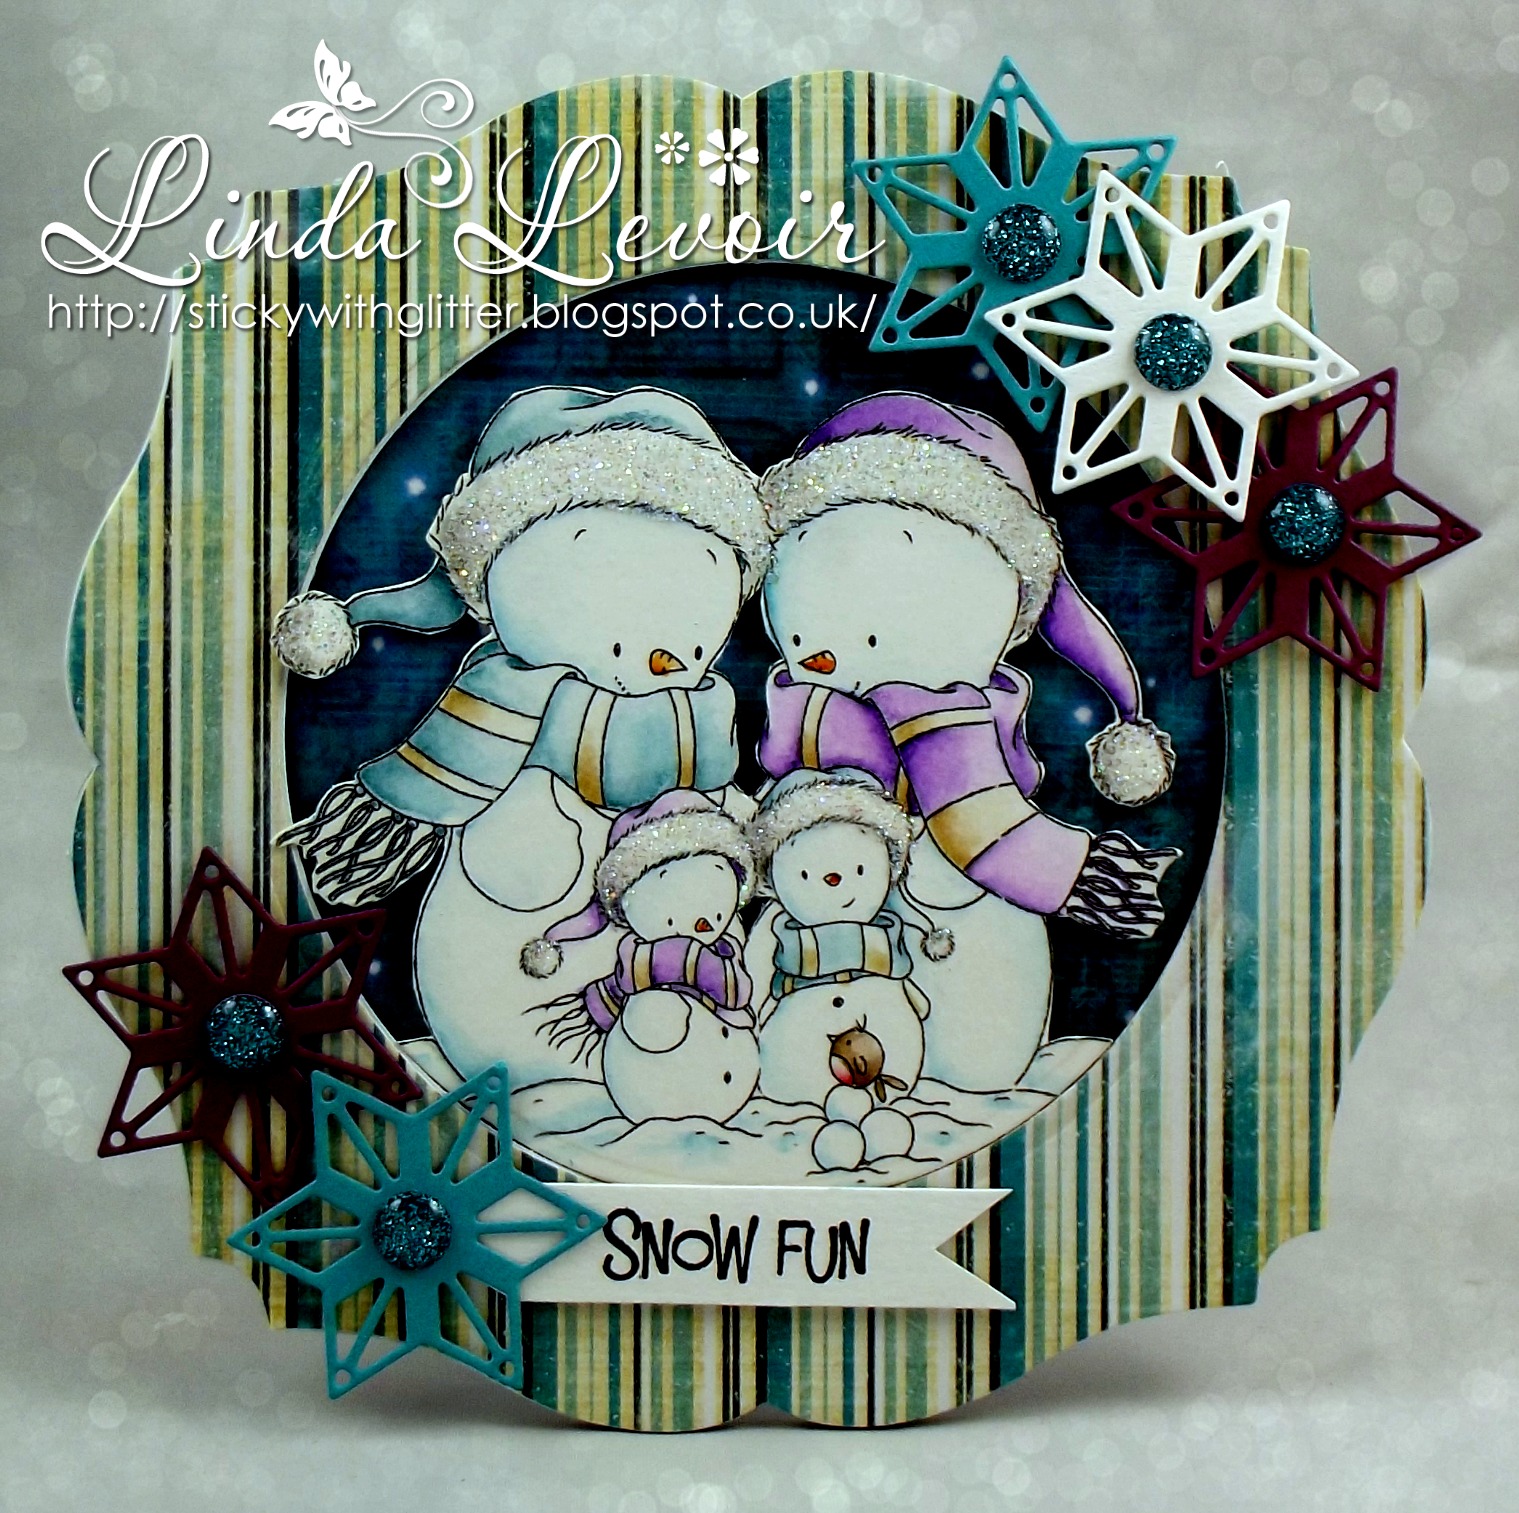
So anyway, enough waffle and onto the post. Picking my favourite cards from all of them that I made in 2016 was not an easy task, my work seems to fall into 3 categories for cards, my usual softly shabby, fully loaded style with a hand coloured image, shabby chic/vintage with no coloured image and CAS (recently often using some kind of technique). So I tried to choose a variety from these 3 where possible.

I hope you like my picks even if you don't agree with which ones are your favourites.


It just remains for me to wish you a very happy New Year, whether that's already arrived or has a few hours to go. I hope it's a good one for you!


Wednesday 28 December 2016

Deep Ocean Challenge - Fave Project of 2016


Hello!

I hope you all had a wonderful Christmas break, I'm back to work now for 3 days before having another little break for the New Year.

So today I'm here with the final challenge for 2016 from Deep Ocean and this is an easy one because you do not have to make a new project. However if you are like me, it may take you a REALLY long time to choose one thing from everything you made in 2016.

I think it would be impossible to pick one single favourite for me, but as we can only pick one I've settled on this make with Sweetie from Whimsy Stamps Wee Stamps Collection.


This is one of my favourite stamps and I really like the card I made with her, I must get around to using her again soon.

I do hope you will join in with us for our last challenge of the year, and don't forget to ogle the rest of the teams' fantastic makes while you're there.


Saturday 24 December 2016

Seasons Greetings

Happy Christmas Eve!

I had a play with my watercolours for this card, using Worn Lipstick, Ripe Pumpkin, Fossilized Amber and  Crushed Olive laid on in loose stripes of colour and then blended with lots of water.

Once dry  I broke out my embossing folder again, to make the panel for this card but before gluing it on I gave it a liberal spray of a gold glimmer mist for a lovely sheen and sparkle (this shows up much better in real life and looks gorgeous).

I heat embossed a greeting in white on a strip of vellum and wrapped that around my panel before adhering the panel to my card base.

Then I popped on the 2 little snowmen from the Mama Elephant Polar Pals set. These were coloured with distress ink markers in Tumbled Glass, Ripe Pumpkin, and Worn Lipstick and then given a good coat of Wink of Stella to make them sparkle.


I finished off with a few enamel dots from Whimsy Stamps Summer Breeze set to echo the colours I used.
That's all from me today, I have a ton of stuff to do to prepare for tomorrow and I'm nurswing another cold, grrr I thought I was safe having already had one, hopefully I'll fight it off before tomorrow.

I hope your Christmas preparations are going well and I will catch up with you all after the big day.
Have fun!


Friday 23 December 2016

Christmas Robin

Morning!

Oh my, Christmas Eve tomorrow, it's starting to get exciting! It's also my last day at work now until next Wednesday...yay!

I have another card today to share with you using the adorable Mama Elephant Polar Pals set. I made this very similarly to how I made yesterday's card but this one was a little simpler as I skipped the embossing and the vellum, stamping straight onto the base card. I also just used one of the penguins robins, but I brought the red colour up onto his cheeks to blend in more with the robin on the design paper.

I finished with a few glittery red enamel dots from my stash.

That's all from me today, but I will pop in tomorrow for another share.

Take care out there!

Thursday 22 December 2016

Penguins or Robins?

Hello! 

Just 3 days to go till Christmas, are you all ready? I almost am, just a few last minute things and then I'm done, but I'm working today and tomorrow still, so it still feels like a bit of a tight deadline lol.

So I'm sharing a couple of Christmas cards with you today but no time for links I'm afraid, though you can find most of them in my previous Mama Elephant posts.

Firstly I have a little shaker card using the penguins stamps from the Polar Pals set and eat embossed vellum instead of an acetate window.


For my second card I did something a little different. A few weeks back my friend Faye, coloured up the Stamping Bella Sweaty Chicks stamp to look like penguins.I thought this was an awesome idea and said she should colour them up to look like robins next......and she did.

So when I looked at these penguins I thought...hmm..I bet these would look good as robins, and I think they really work.
No shaker element to this, though I did use the same layout and I couldn't resist giving the top hat the paper piecing treatment with this fab tartan paper.

Which do you prefer?

That's all for today but I'll be dropping in tomorrow with some more festive fun.


Wednesday 21 December 2016

Simple Snowman Cards

Hello!

Christmas is creeping ever closer and I'm gradually getting things done, but I'm still at work right up until Christmas Eve, so every second counts lol.

I have 2 more Christmas cards for you today, but in the essence of getting things done quickly, I haven't linked all the stamps and dies used, however you can find them all in my previous recent posts using the Polar Pals set from Mama Elephant. 


The colouring is done with distress inks and the papers are from an old Whimsy Stamps pad called Merry and Bright, that is still available at Dies to Die for.

I'll be back tomorrow with some more cards to share,

Happy holidays to those who have started theirs already!


Tuesday 20 December 2016

Technique Tuesday # 5 - Watercolour Smooshed Background and Heat Embossed Sentiment.


Hi everyone, I'm back with another Technique Tuesday, and this time I've been playing around with splodging watercolour backgrounds.

This is a really fun technique where you use really watery paints or inks and wet watercolour paper and just kind of let it do it's thing lol. The little splotches are made by flicking water on to it once it's dry and then lifting the colour with some kitchen towel.


I cut the area I liked out with my Stitched Rectangles Die and stamped and heat embossed a sentiment from Mama Elephant's Jingle Greetings Set

I mounted it onto some green cardstock and then mounted it onto some lighter green card and then onto my card base. I thought the pale green card looked a little plain so I gave it a liberal coating of Wink of Stella to liven it up a bit. I finished my card with a little chipboard snowflake sponged with green ink and coated with Wink of Stella and a few sequins.

I'll be back tomorrow with another Christmas card for you.

Monday 19 December 2016

Penguins and Holly

Happy Monday!

Well this should have gone live this morning, but guess who forgot to hit 'Publish' after scheduling.....doh!
I have another CAS Christmas card to share with you using the Mama Elephant Pola Pals stamp and die set.


This time I used the other stamps from the set, the Penguins. I coloured them up with my distress markers, cut them out with the matching dies and popped them on a card with some holly patterned paper from my stash and edged that with some red cardstock.
I added a couple of little banners with a sentiment heat embossed with white on the red one and finished off with a few red and white matte enamel dots.

Mama Elephant Polar Pals Stamp Set
Mama Elephant Polar Pals Matching Die Set
Whimsy Stamps Shaker Builder - Sweetest Birthday
MFT Double Stitched Rectangle Die
Your Next Stamp Fishtail/Banner Die
La-La Land Stitched Circles Die
Whimsy Stamps Christmas Cheer Enamel Dots

I'll see you tomorrow with another Technique Tuesday


Sunday 18 December 2016

Tiddly Inks - Molly My Sweet


Hello!
It's time for our final challenge of the year over at The Ribbon Girl, and as usual it's Anything Goes with an Image.

I used the aptly named Molly My Sweet on my card. She certainly is super sweet and after all my CAS makes for Christmas recently it was really nice to let myself go in my more usual softly shabby style with this.


Molly is coloured with distress ink markers and I tried some different combos out and DID write them down, but I cannot for the life of me find what I've done with that list! If they turn up I'll add them to the post.

I used the cake from the Whimsy Stamps Sweetest Birthday Shaker Builder Die Set and stamped a little sentiment from the Mama Elephant Mini Messages set onto the bottom part which I thought worked really well. The top half I slathered with glamour dust for sprinkles.

I used the following embellishments from The Ribbon Girl

Peach Vintage Style Seam Binding 
Apricot Sheer Ribbon
Cheesecloth
Clementine Ivory Lace
Orange Frosted Berries
5 mm S/A Gems
3 mm S/A Gems

I do hope you can find time to join in with our final challenge of 2016,
there are some lovely prizes to be won.

First prize:  £10 voucher for Lili of the Valley


Second prize:  £10 voucher for The Ribbon Girl


Third Prize from Marianne Designs


Take care and I'll see you soon!

Saturday 17 December 2016

Mama Elephant - Polar Pals


Hello!

I've been super busy at work recently, but I've still managed to get some Christmas crafting done in my down time.....quite a lot of cards actually. How you ask? Well I bought a Mama Elephant Polar Pals Stamp Set and matching dies, and proceeded to see how many different CAS cards I could knock out with them. I surprised even myself.

Now these are all super quickly made cards, no do not expect my colouring to be perfect, it's not it was quick, but it will serve to show that you don't need fabulous colouring skills to make great cards, you can colour some things up simply and very quickly and still be pleased with your end result.

So...enough yap, I have 2 cards to share with you today, I made them very similar, using the same basic layout and elements and just changed up which snowman stamp I used and the accent colour and sentiment, but the rest is more or less the same making the 2nd one even faster to make. 


You  could make a whole batch of these with different accent colours and sentiments etc and they would all still be individual.


I used Wink of Stella on both the snow bank and the snowmen and pole, which gives them a lovely frosty sparkle, but sadly as usual I could not seem to pick it up on camera, but it does look so lovely in the flesh.

Items used

Plain White Cardstock
Distress Ink Markers
Memento Inks
Wink of Stella Clear Pen

With a little extra work these would also make great shaker cards.

That's all from me today but I'll be back tomorrow with my card for The Ribbon Girls final challenge for 2016 (and no it's not CAS!)

Have a great Saturday!

Friday 16 December 2016

Die Cut Scene

Hello!

Just popping in for a super quick visit to show a card I made with some scraps of card stock. Nothing fancy just a card blank, some off cuts of white, kraft and red cardstock, a sentiment stamp a die and a few gems and sequins and voila! A little Christmas scene.

The die is an old one from Magnolia and the card stock is all off cuts from my stash, but the die for the snow banks and the sentiment are both from Whimsy stamps and I've listed and linked below.


I've made a whole bunch of simple but cute & colourful Christmas cards that I'll be sharing with you soon, I just have to wait for the weekend and some better light to photograph them all as during the week it's so dark when I get home from work and dark when I leave for work too.

See you soon!

Thursday 15 December 2016

Merry Christmas (Gold & Pearl)

Hello!

Today I'd like to share another card using the debossing with dies technique.
As I mentioned previously, this is a really fun and easy technique and a great was to get even more use from your dies.

I made this card at the same time as the other one and used a very similar layout but different dies and cardstock etc.

It's really very easy to use a technique and just change things up a little so that you get different looking cards with very little effort. This is a great way to get a lot of cards made in minimal time, but still keeping that one of a kind treatment.

The card today uses the Snowflakes Die from Whimsy Stamps.


This time I used some ivory pearlescent card for the debossing, cut it to 4'' x 5.25'' and mounted on a 4.25'' x 5.5'' card base made from some ribbed kraft cardstock. 

I added a die cut sentiment cut from glitter paper some sequin stars and a few pearls to embellish. This really went together so quickly. I have to say that I've really been enjoying these quick and simple makes, they are a lot more fun than I thought they would be, and while my first love will always be making softly shabby and embellished cards, particularly with stamped and coloured images, this kind of card really comes into it's own when you have a lot of cards to make and not very much time to make them. They also have the added bonus of not costing too much to post!

See you again soon!


Tuesday 13 December 2016

Technique Tuesday #4 - Negative Die Cuts

Hello!

Dashing in with a Technique Tuesday and this one is super simple and something I've had a brief play with before.

Negative Die Cuts.

Now last week I mentioned getting more use out of your dies by using them to deboss, this is another way to really get more value from your dies. Not every die you have will work for this, you'll want something that has a reasonable amount of detail in the outline, but isn't too detailed on the inside as all that will just be lost. However, some detailed or filigree dies can also work well as negative die cuts even though you lose the interior detail, because they have a good shape anyway.

Basically you will want something with a clear outline where it's obvious from the outline what it is.

For this example I used a Christmas tree. Other good dies for Christmas cards like this might include snowflakes, stars, baubles, crackers, deer etc.


I used an old Magnolia die as this is actually the only Christmas tree die I own, hmm I guess I should correct that soon. But anyway it worked very well for this.  This was actually a super quick and easy card to put together. Normally I would have embossed the stars and sentiment, but I could not find my gold embossing powder, (a hint to tidy my craft space perhaps?), so I just went with some lovely metallic gold ink instead.

The paper is from a Lemoncraft Christmas pad but almost any seasonal, (and many non seasonal), patterned paper would work well with this I think.

The sentiment is from the Mama Elephant Jingle Greetings set, the ribbon is from The Ribbon Girl and the small chipboard stars are from Make it Crafty

I hand cut the panel of white card, but would probably use a stitched rectangle die next time.

This would be a great card for quickly batch producing for your Christmas needs, you can change up the papers, ribbon and sentiment to make them a little different.

That's all from me today, but I have a fair few Christmas cards to share before the 25th so I'll be back with you soon.


Monday 12 December 2016

Square Snowflake Trio

Hello!

Whizzing in with a super quick share today.

Lately I've been making lots of quick and simple cards for Christmas and these super quick and easy cards were made with cardstock and design paper with the focal point being a chipboard snowflake, though you could achieve a similar effect by layering a die cut.
These are all made on a simple 4 x 4 card base.


For card 1 I heat embossed the snowflake with gold embossing powder and did the same with the sentiment on the little tag. I finished with a few SA pearls and a little bit of button twine.
For card 2 I changed the papers around for different ones from the same pad and sponged some blue ink on the snowflake and stamped the small sentiment in silver. I brushed some Wink of Stella on the snowflake to give it a little sparkle. Finally I added a few clear gems and a tiny bow of silver organza.

For my last card I used more papers from the pad, sponged some gold ink on my snowflake and stamped the sentiment with the same ink. I finished with a few golden pearls and a tiny ivory satin bow.


Here's the 3 cards together so that you can compare. Honestly these were very quick and you can ring the changes with different papers and inks very easily.

I'll be back tomorrow with another Technique Tuesday.


Sunday 11 December 2016

Cupcake Princess Violet - Upcycled


So....have you ever coloured up an image, put it on a card and then hated the card, or at least thought you could do better?

I really liked the way I'd coloured this little princess from Mo Manning, but I wasn't very satisfied with the card I'd originally put her on and, something I'd been under time pressure to complete. She's been sitting in my 'don't know what to do with' box for a while now.

But when I got these papers through in the post from The Ribbon Girl I spotted the pink and grey and I just knew they belonged with her.

So I carefully removed her from the original card I'd popped her on and made another different card to showcase her.


The papers are from a delicious pad from Lemoncraft called Heart Painted. I was so happy when I saw that Mary was going to be stocking this one because I'd admired it for a long time but it wasn't available anywhere in the UK that I could see.

I distressed my edges but didn't ink them this time and I used some chipboard corners underneath my bottom layer for interest. I painted these first with a little gesso so that they would coordinate better with my theme.


I added some cheescloth to soften things a little, popped my image on, mounted on a die cut circle and frame from some white card and matching paper and added some flowers and leaves. I sprayed the leaves quite heavily with some silver misting spray.

Finally I added a triple bow with a diamante heart which I coloured to match with some Copics, and added a few flat back gems coloured the same way/

I used the following products from The Ribbon Girl


Hope you do too!

Thursday 8 December 2016

Snow Family

Hello!

 I made a little card with the adorable Snow Family from the Lee Holland collection.  Apart from the plain white and coloured cardstock, and the large shaped die to cut the card shape, everything on my card today is from Whimsy Stamps, so I've made a little list with links at the end of the post.

I coloured this sweet little family up with my distress ink markers:

Tumbled Glass (snow and snowmen), Carved Pumpkin, Broken China, Wilted Violet, Antique Linen, Hickory Smoke.


I have to admit that I had this image stamped up and partially coloured for a while now, but just couldn't decide what I wanted to do with it. I originally thought I'd make a shaker card, but then I thought there wouldn't actually be very much 'shaker' visible behind my snow family, so I didn't.

I used some papers from the Winter Wishes pad and used some of the matching enamel dots as centres for my snowflakes.
I do have to say that in the light the geometric snowflakes all matched my colouring, but as by the time I'm home from work it's really dark here, it doesn't look that way on the photograph, my lovely violet snowflakes look more burgundy!

The little sentiment is from the Penguin Adventure clear stamp set, I thought it was perfect for this little group.

Penguins Winter Adventure Clear Stamp Set

You can buy all of these from Dies to Die for in the UK.

That's all from me today but you can find more inspiration here every day in the run up to Christmas!